How to Patch Nail Holes and Repaint Walls Like a Pro

A nail hole is the smallest repair a wall can ask for, and somehow it's the one that ends up looking worst. You fill it, you paint over it, and a week later there's a dull grey circle staring back at you from across the room. The hole was never the problem.
Filler, primer and paint all behave differently, and skipping any one of those stages leaves a mark that catches the light. Invisible repairs are a learnable skill, though, and the tools cost less than a takeaway dinner. Here's the whole process, start to finish.
You don't need a workshop for this. The one item worth spending a little more on is the putty knife — a flexible metal blade scrapes a patch flush far more easily than a stiff plastic one, and it lasts for years.
Load a little compound onto the blade and drag it across the hole in one smooth pass, pressing the filler in rather than wiping it over the top. Then scrape the excess off with the blade held almost flat against the wall, at a shallow angle. The aim is a patch that sits level with the surface — not proud, not sunken. A slight overfill is fine, because most fillers shrink a little as they dry.
Plastic wall anchors are best removed than buried, but you don't always need to dig them out. Screw a screw partway into the anchor and pull it free with a pair of pliers, or push it just below the surface with a screwdriver handle and fill over it. If the paper facing of the drywall is torn or peeling, cut the loose flaps away with a utility knife first. Filler over a flap of loose paper will crack within weeks. For holes wider than a pencil, use a self-adhesive mesh patch and skim it with two or three thin coats rather than one thick one.
Let each coat dry completely. Lightweight spackle in a warm room is usually ready in under an hour, but joint compound in a cool, damp room can take considerably longer. Press a fingertip gently near the edge — if it feels cool or spongy, leave it alone.
Sand the patch lightly with fine paper or a sponge, keeping the pressure gentle and working just past the edges of the filler. You're smoothing the transition, not grinding the wall down. Then wipe away the dust with a damp cloth, a tack cloth or a vacuum brush — dust left behind will show up as grit under the paint and can stop it bonding properly.
Now check your work by touch. Run your palm flat across the patch. If you can feel a ridge or a dip, your eye will find it too, especially in raking light. Hold a lamp close to the wall at a shallow angle so the beam skims across the surface. It's a harsh test, and it's exactly how a professional checks before painting.
This is the step most people skip, and it's the single biggest reason a repair still shows after painting. Bare filler is porous. It drinks the first coat of paint, leaving a dull, flat area that stands out against the rest of the wall — painters call it flashing.
One thin coat of primer over the patch and an inch or so beyond it seals the filler and gives the topcoat an even surface to sit on. Let it dry fully before painting. If you're using a pink spackle that turns white as it cures, use that colour change as your cue that the filler is ready, but always give the primer its own drying time.
Two walls painted in the same colour but a different finish will never blend. If the room is eggshell and you touch up with flat, the patch reads as a dull smudge; go the other way and it looks shiny. Use the same product the wall was painted with. And keep in mind that paint fades and dulls over time, so even the original tin is a near match rather than a perfect one. If you don't have any left, a paint shop can match from a small sample — carefully cut a square from behind a light switch cover, which is an area nobody sees.
A brush leaves lap marks and a texture that doesn't match the surrounding wall. A mini roller with the same nap as the original finish replicates that fine stipple, so the patch sits in the wall rather than on top of it. Save the brush for corners and edges.
Roll the patch and an inch or two beyond it, then take a roller that's nearly dry and feather outward past the edge of the wet paint. That soft fade is what makes the repair vanish. Let it dry, then judge it in daylight — not under a warm lamp at ten in the evening, when everything looks fine. If the colour still reads slightly off across the whole wall, the honest fix is to repaint that wall corner to corner. Rolled edge to edge, there's no drying line to see.
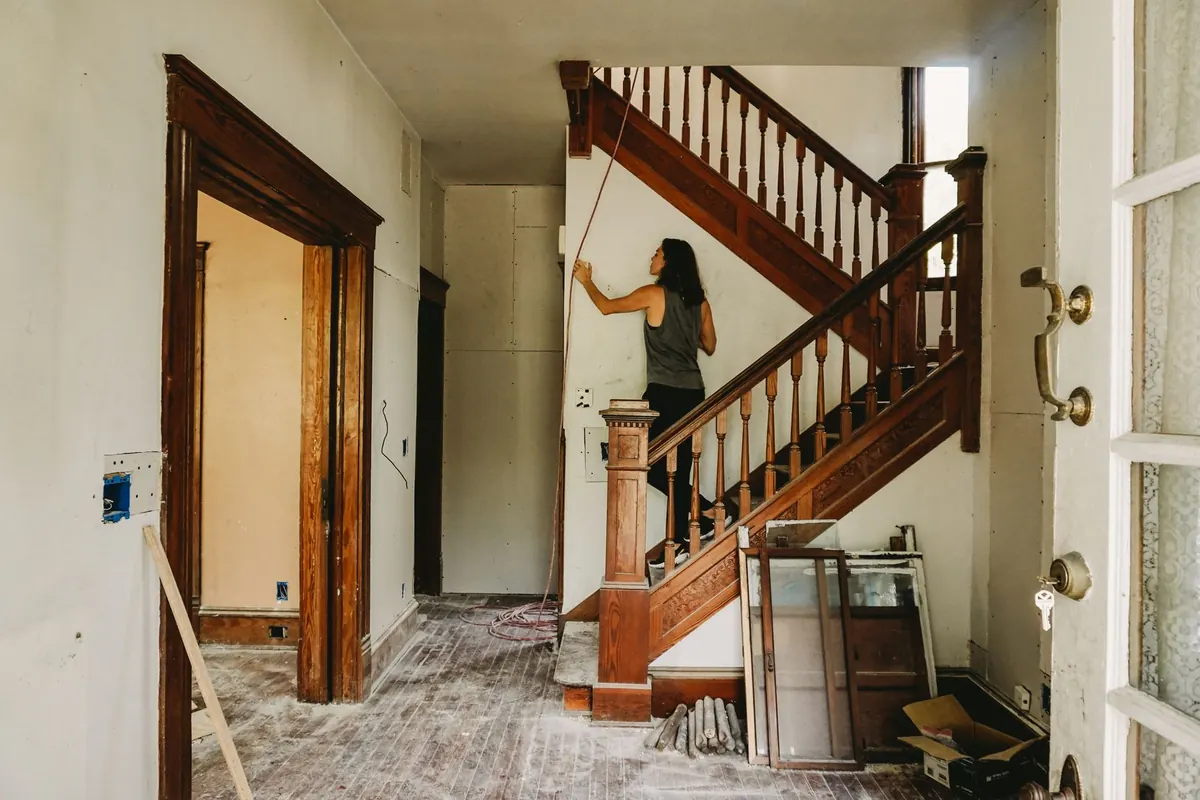
Nail holes are a kitchen-table job. Some repairs aren't. Textured and popcorn ceilings, water-stained drywall, larger holes where the board itself is crumbling, wallpaper that has to be matched, or a wall high enough to need proper access all take more time and equipment than a tube of filler and a roller. So does repainting a whole room, which is often the real answer when a touch-up won't blend.
If your list has grown past a couple of holes — a rental turnover, a spare room before guests arrive, a collection of small jobs you keep walking past — that's the kind of afternoon's work a handyman can clear in one visit. Ask about preparation and materials up front, and get the scope in writing before anyone starts. One more thing worth knowing: if your home is older and the paint layers may contain lead, don't sand them yourself. Stop and take advice from a qualified professional or your local authority before disturbing the surface.
Done properly, a wall repair should be something you have to point out to visitors. Fill it thin, sand it smooth, prime it, and blend the paint past the edges. The hole disappears, and so does the job.
Photo: TheOtherKev / Pixabay
Previous Post
Handyman Quotes Compared: Hourly Rates vs Fixed-Price Jobs
Next Post
Gutter Cleaning and Downpipe Checks for Somerset Homes